Building a Chat Interface with KendoReact and AI—Part 2

We will build on the chat interface we created with KendoReact, this time adding OpenAI to create a chatbot with dynamic responses.
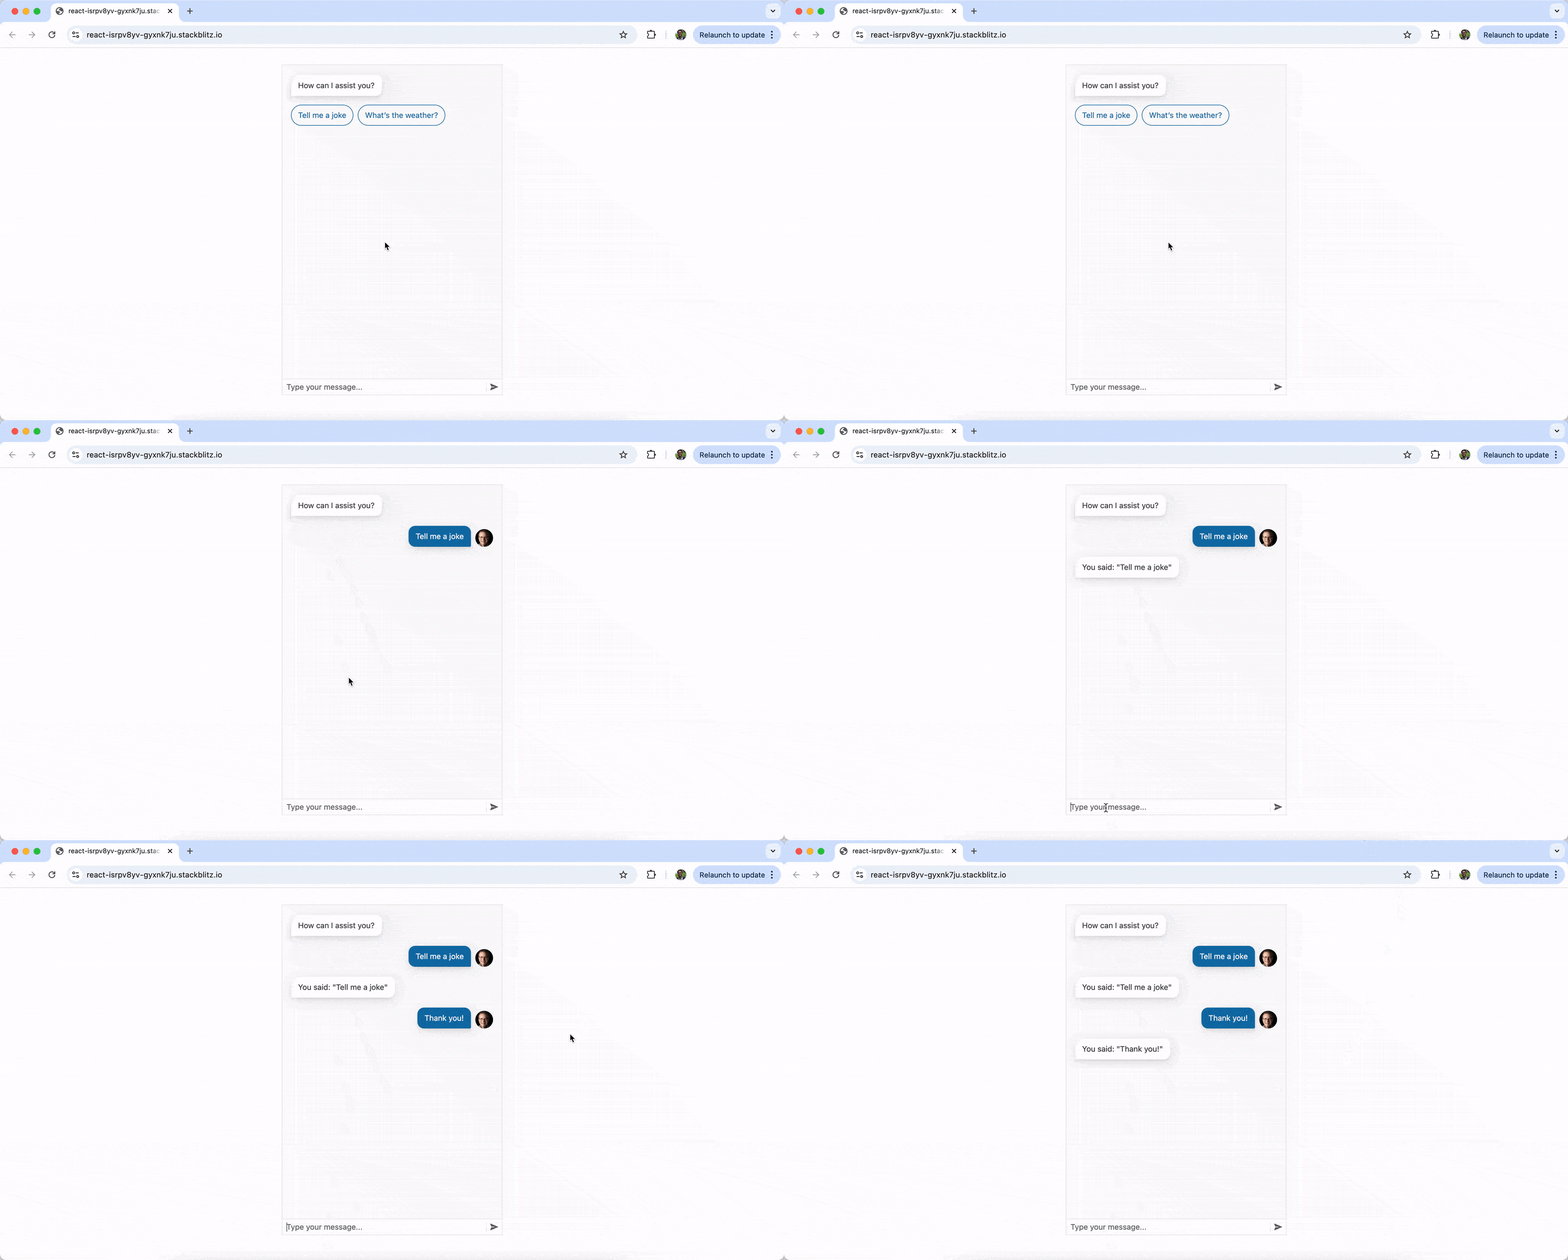
In Part 1 of the series of building a chat interface with Progress KendoReact, we explored how KendoReact simplifies building chat interfaces by providing a set of component behaviors for handling real-time conversations. We walked through setting up a chat interface using the React Chat component, adding message templates, quick actions and attachments to enhance the user experience. However, the chatbot responses were static and lacked intelligence.
In this follow-up, we’ll take the next step by integrating AI into our chat application. Instead of predefined responses, we’ll connect the chat interface to OpenAI’s API to generate dynamic and intelligent replies based on user input.
AI & OpenAI
Artificial intelligence (AI) has evolved in the last few years, with various large language models (LLMs) offering powerful natural language processing capabilities. OpenAI’s GPT-4 is among the most popular (at the time of writing), but other alternatives like Google’s Gemini, Meta’s LlamA and Anthropic’s Claude exist. These models can process input text and generate human-like responses, making them ideal for chatbot implementations.
Many AI tools provide APIs that developers can integrate, enabling automated conversations, content generation and personalized assistance within their applications. In this article, we’ll leverage OpenAI’s API to transform our chatbot from a static responder into an interactive assistant capable of understanding and responding to various prompts.
Getting Started with OpenAI
To enable AI-powered responses, we need access to OpenAI’s API. Follow these steps to get started:
- Create an OpenAI account: Visit OpenAI and sign up for an API key.
- Obtain an API key: Navigate to the API section and generate a new API key. Keep this key secure, as it will be required to make requests.
With our OpenAI API key in hand, we can begin adding the API to our chat interface.
Building the Dynamic Chat Interface
Let’s revisit where we left off in our previous article. We built a chat interface using the KendoReact Chat component with message handling, attachments and a toolbar for additional functionality. Below is the implementation we worked on:
import * as React from "react";
import { Chat } from "@progress/kendo-react-conversational-ui";
import { Button } from "@progress/kendo-react-buttons";
import { imageAddIcon } from "@progress/kendo-svg-icons";

const AttachmentTemplate = (props) => {
  const attachment = props.item;
  return (
    <div className="k-card k-card-type-rich">
      <div className="k-card-body quoteCard">
        <img
          style={{ maxHeight: "120px" }}
          src={attachment.content}
          alt="attachment"
          draggable={false}
        />
      </div>
    </div>
  );
};

const user = {
  id: 1,
  avatarUrl:
    "https://demos.telerik.com/kendo-react-ui/assets/dropdowns/contacts/RICSU.jpg",
  avatarAltText: "KendoReact Conversational UI RICSU",
};

const App = () => {
  const fileUpload = React.createRef();
  const [showToolbar, setShowToolbar] = React.useState(false);
  const [messages, setMessages] = React.useState([]);

  const handleInputChange = (e) => {
    const file = e.target.files[0];
    const reader = new FileReader();

    reader.onloadend = (event) => {
      const message = {
        author: user,
        text: "",
        attachments: [
          {
            content: event.target ? event.target.result : "",
            contentType: "image/",
          },
        ],
      };

      setShowToolbar(false);
      setMessages([...messages, message]);
    };

    reader.readAsDataURL(file);
  };

  const Toolbar = () => (
    <span>
      <input
        type="file"
        onChange={handleInputChange}
        style={{ display: "none" }}
        ref={fileUpload}
      />
      <Button
        themeColor="base"
        fillMode="flat"
        svgIcon={imageAddIcon}
        rounded="medium"
        onClick={() => fileUpload.current.click()}
      />
    </span>
  );

  const addNewMessage = (event) => {
    setMessages([...messages, event.message]);
  };

  return (
    <div>
      <Chat
        user={user}
        messages={messages}
        onMessageSend={addNewMessage}
        placeholder="Type a message..."
        width={400}
        attachmentTemplate={AttachmentTemplate}
        showToolbar={showToolbar}
        onToolbarActionExecute={() => setShowToolbar(!showToolbar)}
        toolbar={<Toolbar />}
      />
    </div>
  );
};

export default App;
The above implementation allowed users to send messages and upload attachments.

We’ll modify our App component to send user messages to OpenAI’s API and display AI-generated responses. We’ll continue importing the necessary dependencies:
import React, { useState } from "react";
import { Chat } from "@progress/kendo-react-conversational-ui";
Next, we’ll also continue to define user and bot objects to identify message authors like we’ve done before:
const user = {
  id: 1,
  avatarUrl:
    "https://demos.telerik.com/kendo-react-ui/assets/dropdowns/contacts/RICSU.jpg",
  avatarAltText: "User Avatar",
};

const bot = { id: 0 };
We’ll now define an asynchronous function to send messages to OpenAI’s API and retrieve responses:
const fetchAIResponse = async (userMessage) => {
  const API_KEY = "YOUR_OPENAI_API_KEY"; // Replace with your API key
  const API_URL = "https://api.openai.com/v1/chat/completions";

  try {
    const response = await axios.post(
      API_URL,
      {
        model: "gpt-4",
        messages: [{ role: "user", content: userMessage }],
      },
      {
        headers: {
          Authorization: `Bearer ${API_KEY}`,
          "Content-Type": "application/json",
        },
      }
    );

    return response.data.choices[0].message.content;
  } catch (error) {
    console.error("Error fetching AI response:", error);
    return "I'm sorry, but I couldn't process that request.";
  }
};
We’re utilizing OpenAI’s /v1/chat/completions endpoint to generate an AI-powered response. This endpoint enables us to send user messages to the model and receive a contextual reply. It takes in a conversation history structured as an array of messages, each marked by a role (user or assistant).
When the user sends a message in our App component, we add it to the chat history in our component state and call fetchAIResponse to retrieve the AI-generated response.
const App = () => {
  const [messages, setMessages] = useState(initialMessages);

  const addNewMessage = async (event) => {
    const userMessage = event.message;
    setMessages((prev) => [...prev, userMessage]);

    const botText = await fetchAIResponse(userMessage.text);

    const botResponse = {
      author: bot,
      text: botText,
      timestamp: new Date(),
    };

    setMessages((prev) => [...prev, botResponse]);
  };

  return (
    <Chat
      user={user}
      messages={messages}
      onMessageSend={addNewMessage}
      placeholder="Type your message..."
      width={400}
    />
  );
};

export default App;
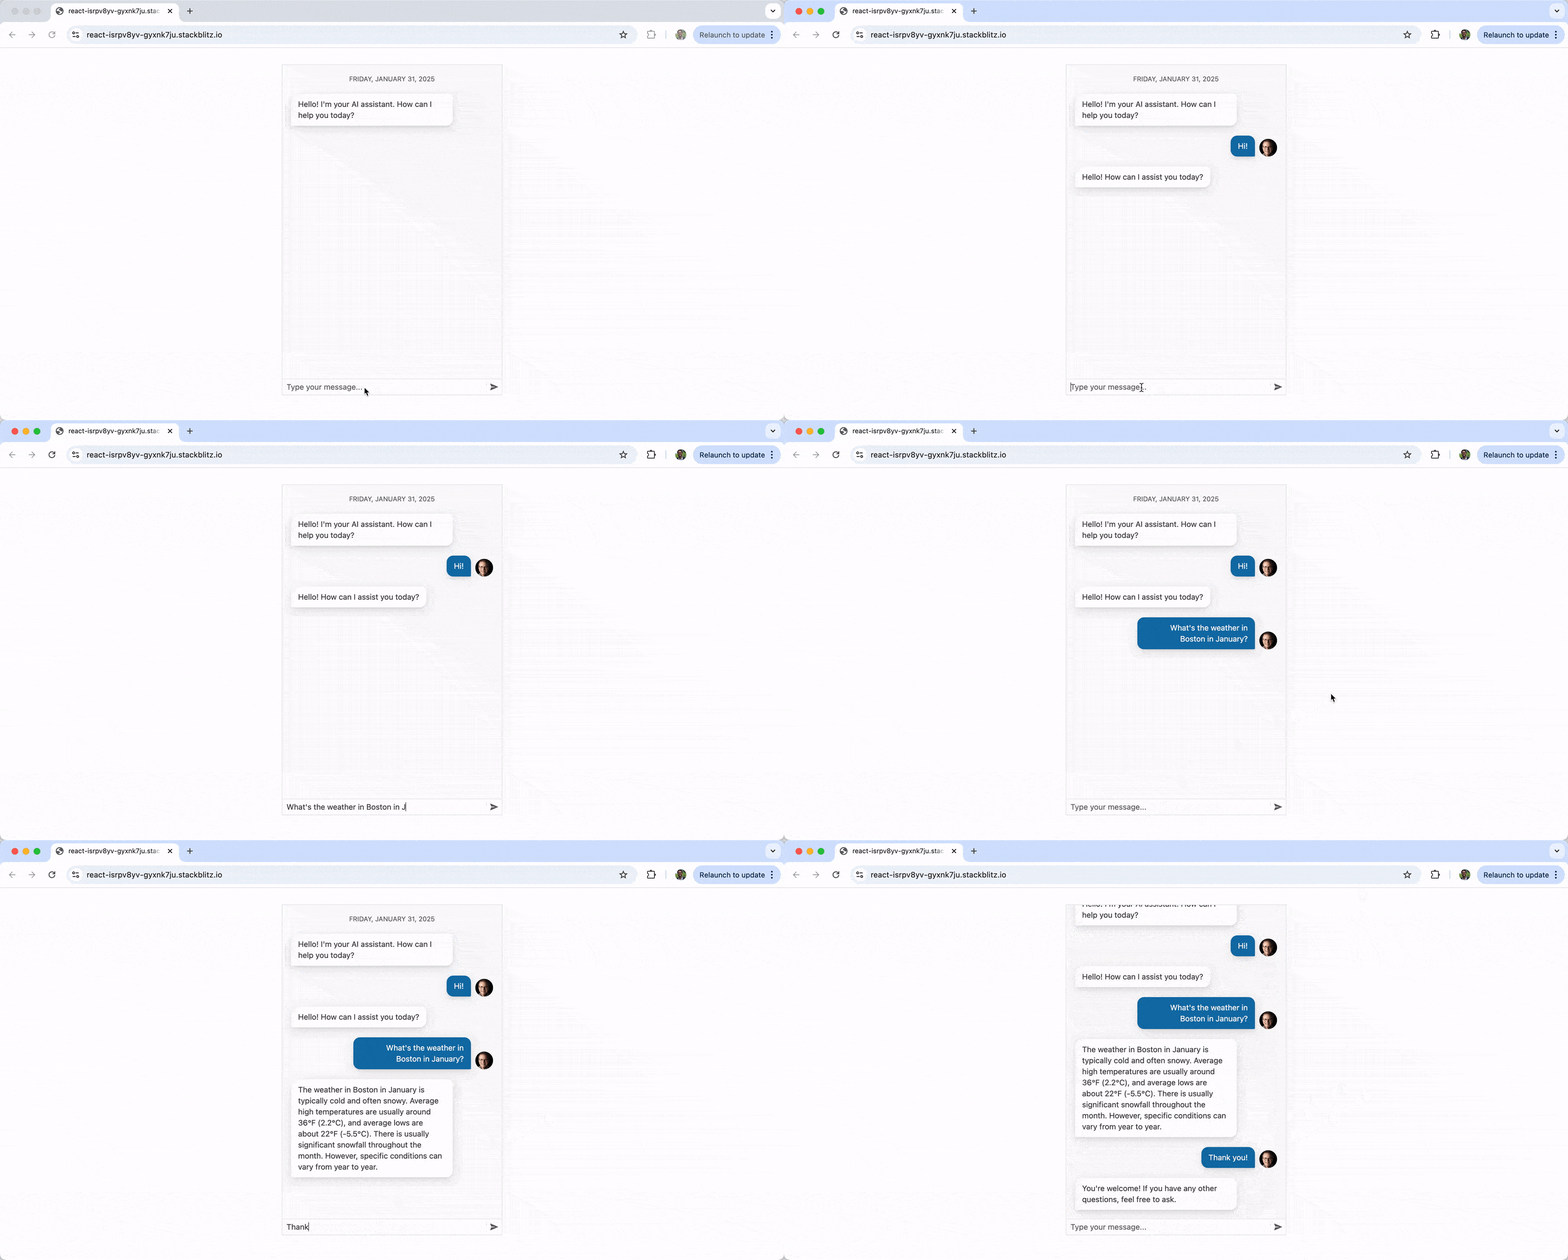
With these changes, the chat interface will interact dynamically with OpenAI’s API, generating responses based on user input!

You can see the full code example in the following StackBlitz playground link.
How cool is that? The KendoReact Chat component does the heavy lifting on the UI, handling message rendering, input and attachments, while OpenAI’s API enables intelligent, contextual responses, making the chatbot dynamic and interactive.
Furthermore, there’s so much more that can be done to enhance the AI chat experience, including:
- Context awareness: Storing conversation history to make the bot’s responses more coherent.
- Custom AI fine-tuning: Training AI models with domain-specific knowledge for better accuracy.
- Multi-turn conversations: Keeping track of user queries and follow-ups for more engaging interactions.
- User personalization: Using AI to tailor responses based on user preferences or past interactions.
KendoReact has introduced a new React AIPrompt component that makes writing prompts easier, executing predefined commands and interacting with AI-generated outputs directly within the chat interface. We’ll explore this new component and its powerful features in the final part of our series next!
Visit the KendoReact Chat documentation for further information on the KendoReact Chat component or start a free trial and play with it. Also, be sure to check out OpenAI’s API documentation for more details on its Chat API endpoint.

Hassan Djirdeh
Hassan is a senior frontend engineer and has helped build large production applications at-scale at organizations like Doordash, Instacart and Shopify. Hassan is also a published author and course instructor where he’s helped thousands of students learn in-depth frontend engineering skills like React, Vue, TypeScript, and GraphQL.

