
Building a Chat Interface with KendoReact and AI—Part 3

Summarize with AI:
Now that we’ve built our chatbot with KendoReact and OpenAI, we’ll finalize it with the AIPrompt component for a polished interaction.
In the previous articles of this series, we explored how to build a chat interface using KendoReact and progressively enhanced it by integrating OpenAI’s API to provide AI-driven responses. While our chatbot is now capable of dynamic and intelligent replies, KendoReact has introduced a new React AIPrompt component to simplify writing prompts, executing predefined commands and interacting with AI-generated outputs directly within a chat interface.
In this article, we’ll integrate the AIPrompt component into a KendoReact chat interface and showcase how it enhances the user experience.
The KendoReact AIPrompt Component
The React AIPrompt component provides a structured way to interact with AI models. It enables users to write and submit prompts, execute predefined commands, and view and interact with AI-generated outputs.
The KendoReact AIPrompt component is distributed through the @progress/kendo-react-conversational-ui package and can be imported directly:
import { AIPrompt } from "@progress/kendo-react-conversational-ui";
Before introducing the AIPrompt component, let’s reconstruct our base Chat component so we have a functional chat UI as our foundation.
import React, { useState } from "react";
import { Chat } from "@progress/kendo-react-conversational-ui";

const user = {
  id: 1,
  avatarUrl:
    "https://demos.telerik.com/kendo-react-ui/assets/dropdowns/contacts/RICSU.jpg",
  avatarAltText: "User Avatar",
};

const bot = { id: 0 };

const initialMessages = [
  {
    author: bot,
    text: "Hello! I'm your AI assistant. How can I assist you today?",
    timestamp: new Date(),
  },
];

const App = () => {
  const [messages, setMessages] = useState(initialMessages);

  const handleSendMessage = (event) => {
    setMessages((prev) => [...prev, event.message]);

    const botResponse = {
      author: bot,
      text: "Processing your request...",
      timestamp: new Date(),
    };

    setTimeout(() => {
      setMessages((prev) => [...prev, botResponse]);
    }, 1000);
  };

  return (
    <Chat
      user={user}
      messages={messages}
      onMessageSend={handleSendMessage}
      placeholder="Type your message..."
      width={400}
    />
  );
};

export default App;
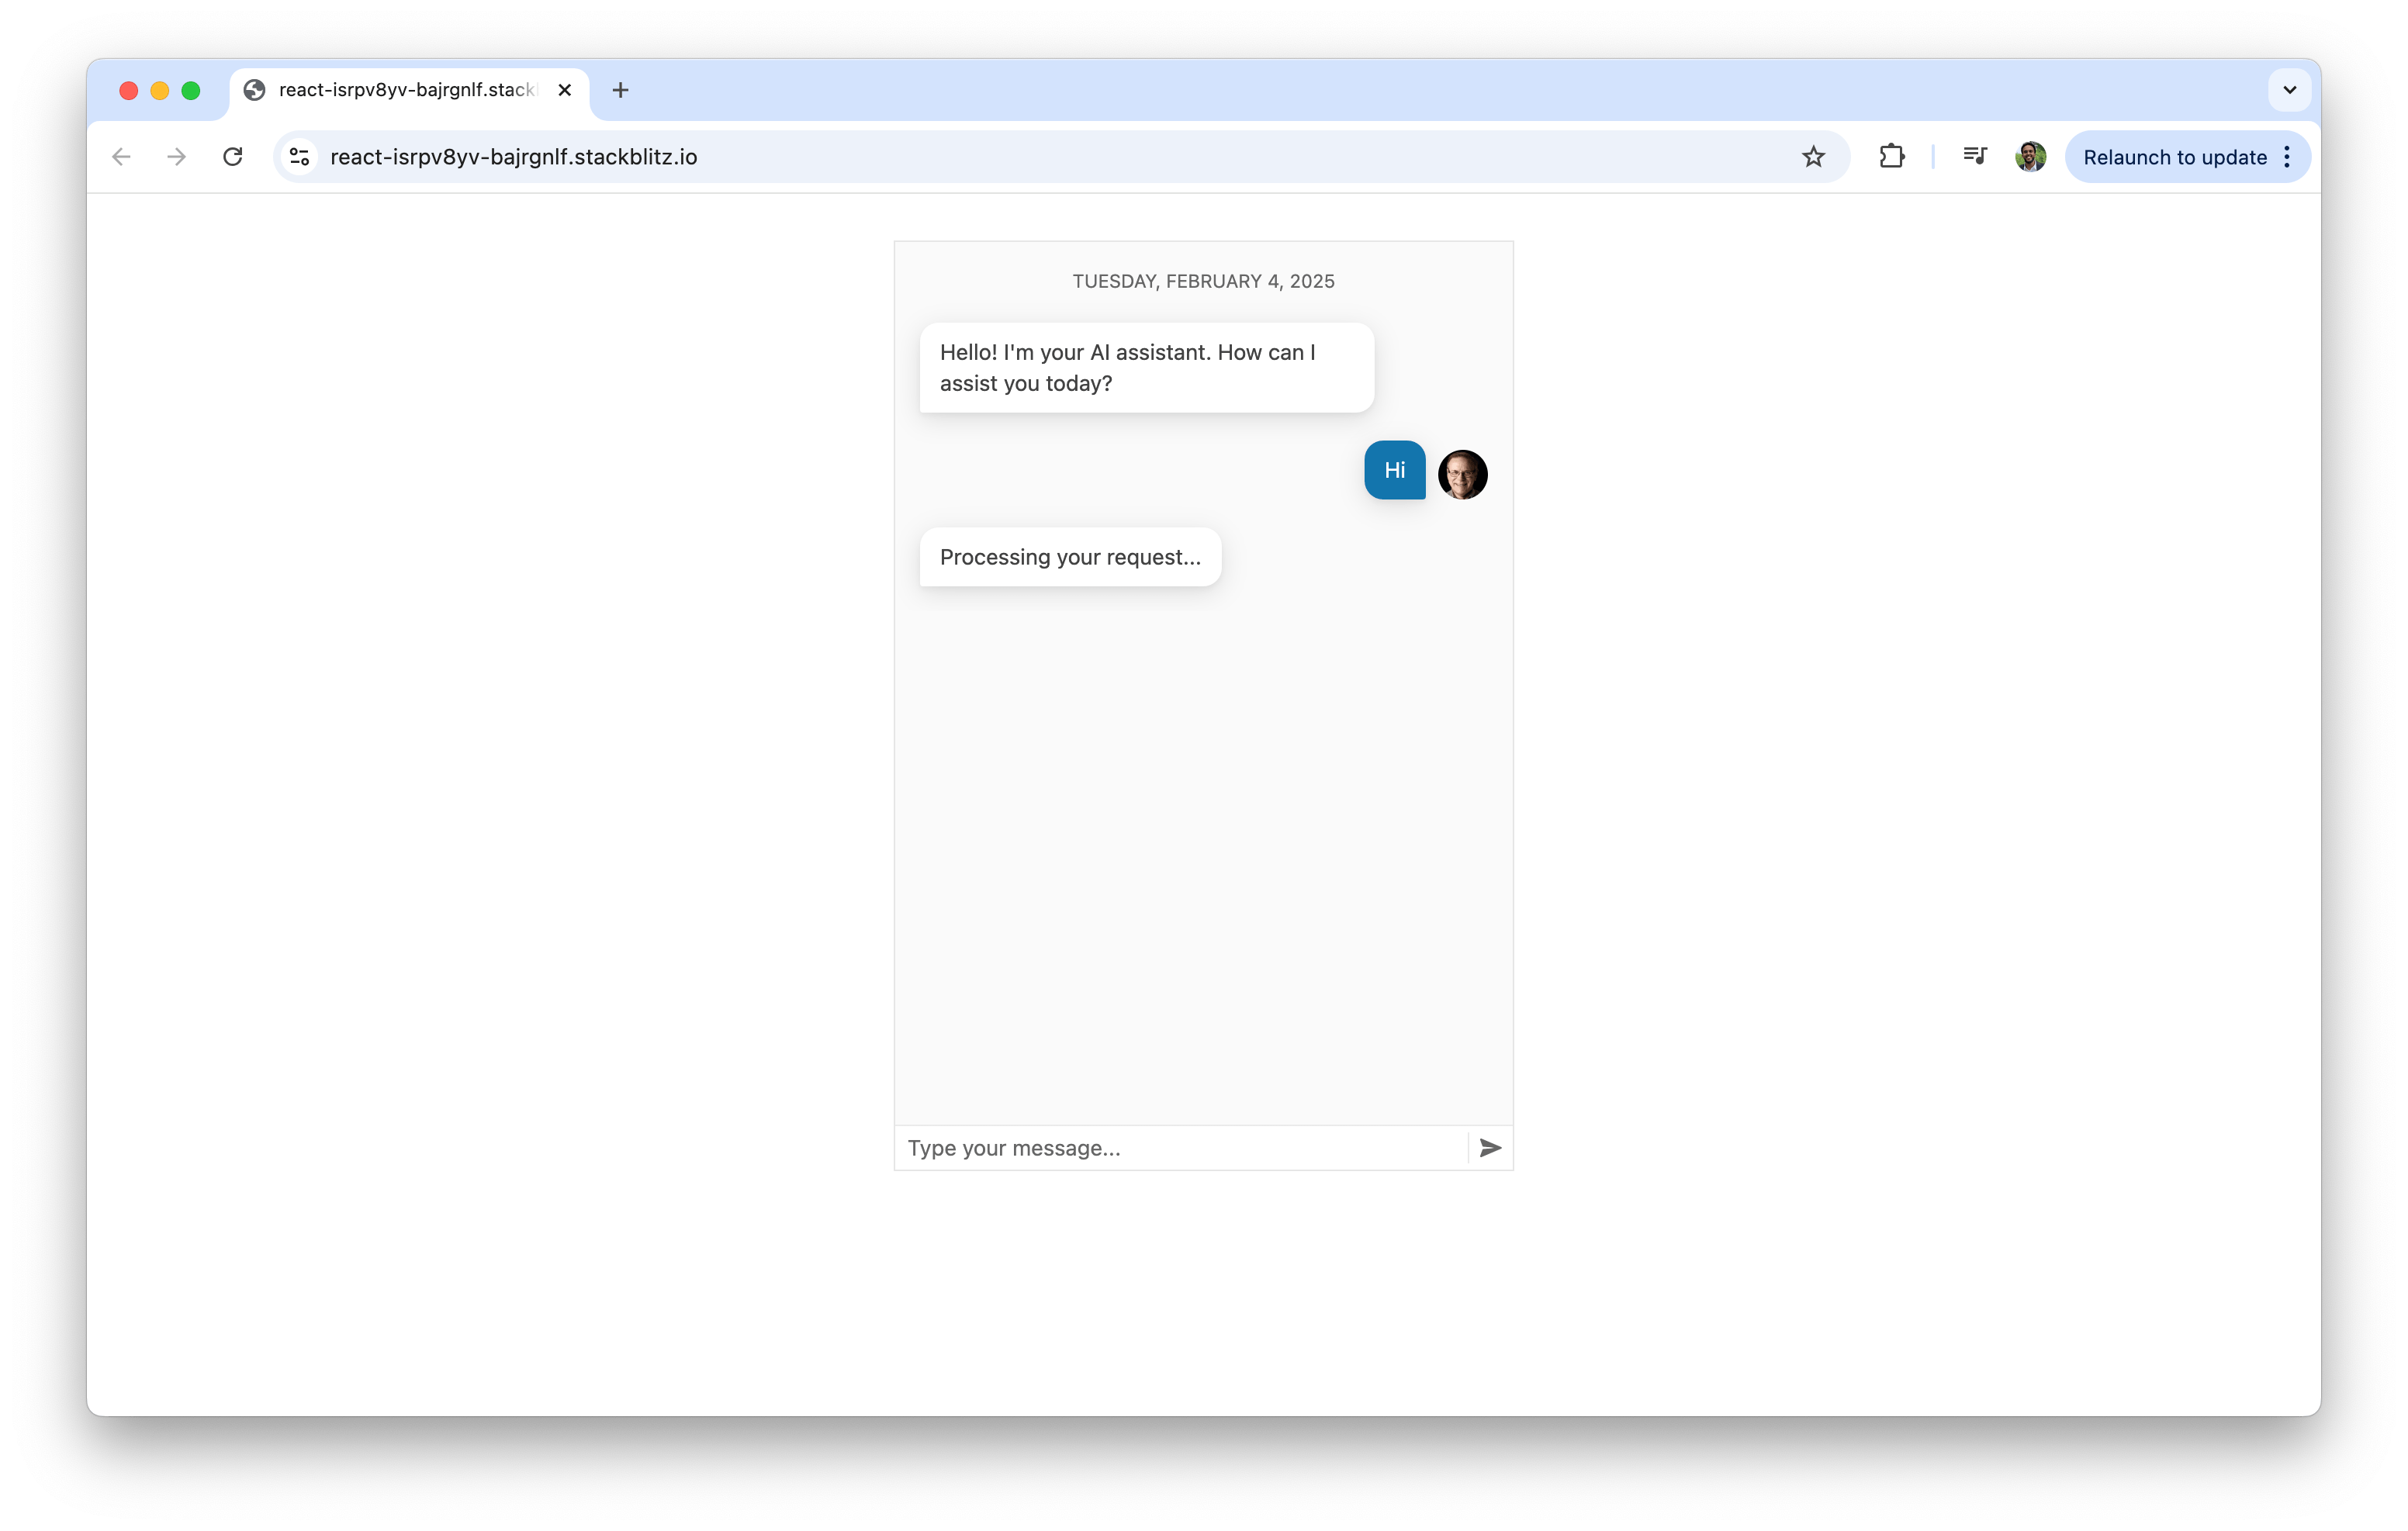
In the above code example, the Chat component provides the basic structure for user-bot interaction. It allows users to send messages and receive placeholder responses from the bot, simulating a functional chat interface.
Now that our standard chat UI is working, we’ll introduce the AIPrompt component. To integrate AIPrompt, we first import it along with supporting components:
import {
  AIPrompt,
  AIPromptView,
  AIPromptOutputView,
  AIPromptCommandsView,
} from "@progress/kendo-react-conversational-ui";
Each of the components serves a specific purpose:
- AIPrompt: The main container for AI interaction
- AIPromptView: The UI where users enter their prompts
- AIPromptOutputView: Displays AI-generated responses
- AIPromptCommandsView: Provides predefined commands (e.g., Simplify, Expand) to modify AI-generated text
Before integrating the UI of the AIPrompt, we’ll set up state management for handling:
- Active view – Tracks whether the UI displays the prompt input or AI-generated output
- AI outputs – Stores responses received from the AI
- Loading status – Prevents multiple simultaneous requests
const [activeView, setActiveView] = useState("prompt");
const [outputs, setOutputs] = useState([]);
const [loading, setLoading] = useState(false);
We’ll also create a function to switch between the prompt input and output view when a request is made:
const handleActiveViewChange = (view) => {
  setActiveView(view);
};
The above function will allow AIPrompt to switch views dynamically.
When a user enters a prompt, we’ll send it to OpenAI and store the response. In this article, we’ll assume this will only be done through the AIPrompt UI interface. To do this, we’ll create a handleOnRequest function responsible for this:
const handleOnRequest = async (prompt) => {
  if (!prompt || loading) return; // Prevent empty or duplicate requests

  setLoading(true);

  // Placeholder for AI response while waiting
  setOutputs([
    {
      id: outputs.length + 1,
      title: prompt,
      responseContent: "Thinking...",
    },
    ...outputs,
  ]);

  try {
    const API_KEY = "YOUR_OPENAI_API_KEY"; // Replace with a valid API key
    const API_URL = "https://api.openai.com/v1/chat/completions";

    const response = await fetch(API_URL, {
      method: "POST",
      headers: {
        Authorization: `Bearer ${API_KEY}`,
        "Content-Type": "application/json",
      },
      body: JSON.stringify({
        model: "gpt-4",
        messages: [{ role: "user", content: prompt }],
      }),
    });

    if (!response.ok) {
      throw new Error(`HTTP error! Status: ${response.status}`);
    }

    const data = await response.json();
    const aiResponse =
      data.choices[0]?.message?.content || "Unable to process request.";

    // Replace "Thinking..." with actual AI response
    setOutputs((prevOutputs) =>
      prevOutputs.map((output, index) =>
        index === 0 ? { ...output, responseContent: aiResponse } : output
      )
    );
  } catch (error) {
    // Handle API errors
    setOutputs([
      {
        id: outputs.length + 1,
        title: prompt,
        responseContent: "Error processing request.",
      },
      ...outputs,
    ]);
  } finally {
    setLoading(false);
    setActiveView("output"); // Switch to output view after processing
  }
};
In the handleOnRequest function, we’re utilizing OpenAI’s /v1/chat/completions endpoint to generate an AI-powered response. This endpoint enables us to send user messages to the model and receive a contextual reply. It takes in a conversation history structured as an array of messages, each marked by a role (user or assistant).
Now that our functions and state are in place, we can integrate AIPrompt into our app. We’ll add it below the chat component so that it handles user input separately from standard messages:
<AIPrompt
  style={{ width: "400px", height: "400px" }}
  activeView={activeView}
  onActiveViewChange={handleActiveViewChange}
  onPromptRequest={handleOnRequest}
  disabled={loading}
>
  {/* Prompt Input UI */}
  <AIPromptView
    promptSuggestions={["Out of office", "Write a LinkedIn post"]}
  />

  {/* AI Response Output UI */}
  <AIPromptOutputView outputs={outputs} showOutputRating={true} />

  {/* Commands View */}
  <AIPromptCommandsView
    commands={[
      { id: "1", text: "Simplify", disabled: loading },
      { id: "2", text: "Expand", disabled: loading },
    ]}
  />
</AIPrompt>
This will make our complete code example look like the following:
import React, { useState } from "react";
import {
  AIPrompt,
  AIPromptView,
  AIPromptOutputView,
  AIPromptCommandsView,
} from "@progress/kendo-react-conversational-ui";
import { Chat } from "@progress/kendo-react-conversational-ui";

const user = {
  id: 1,
  avatarUrl:
    "https://demos.telerik.com/kendo-react-ui/assets/dropdowns/contacts/RICSU.jpg",
  avatarAltText: "User Avatar",
};

const bot = { id: 0 };

const App = () => {
  const [activeView, setActiveView] = useState("prompt");
  const [outputs, setOutputs] = useState([]);
  const [loading, setLoading] = useState(false);

  const handleActiveViewChange = (view) => {
    setActiveView(view);
  };

  const handleOnRequest = async (prompt) => {
    if (!prompt || loading) return;

    setLoading(true);

    const API_KEY = "YOUR_OPENAI_API_KEY"; // Replace with a valid API key
    const API_URL = "https://api.openai.com/v1/chat/completions";

    try {
      setOutputs([
        {
          id: outputs.length + 1,
          title: prompt,
          responseContent: "Thinking...",
        },
        ...outputs,
      ]);
      const response = await fetch(API_URL, {
        method: "POST",
        headers: {
          Authorization: `Bearer ${API_KEY}`,
          "Content-Type": "application/json",
        },
        body: JSON.stringify({
          model: "gpt-4",
          messages: [{ role: "user", content: prompt }],
        }),
      });

      if (!response.ok) {
        throw new Error(`HTTP error! Status: ${response.status}`);
      }

      const data = await response.json();
      const aiResponse =
        data.choices[0]?.message?.content || "Unable to process request.";
      setOutputs((prevOutputs) =>
        prevOutputs.map((output, index) =>
          index === 0 ? { ...output, responseContent: aiResponse } : output
        )
      );
    } catch (error) {
      setOutputs([
        {
          id: outputs.length + 1,
          title: prompt,
          responseContent: "Error processing request.",
        },
        ...outputs,
      ]);
    } finally {
      setLoading(false);
      setActiveView("output");
    }
  };

  return (
    <div
      style={{ display: "flex", flexDirection: "column", alignItems: "center" }}
    >
      <Chat
        user={user}
        messages={outputs.map((output) => ({
          author: bot,
          text: output.responseContent,
        }))}
        width={400}
      />
      <AIPrompt
        style={{ width: "400px", height: "400px" }}
        activeView={activeView}
        onActiveViewChange={handleActiveViewChange}
        onPromptRequest={handleOnRequest}
        disabled={loading}
      >
        <AIPromptView
          promptSuggestions={["Out of office", "Write a LinkedIn post"]}
        />
        <AIPromptOutputView outputs={outputs} showOutputRating={true} />
        <AIPromptCommandsView
          commands={[
            { id: "1", text: "Simplify", disabled: loading },
            { id: "2", text: "Expand", disabled: loading },
          ]}
        />
      </AIPrompt>
    </div>
  );
};

export default App;
You can also see the complete code example in the following StackBlitz playground link.
With these changes, the final app combines the Chat and AIPrompt components to create a more interactive AI-driven chat experience. Users can enter their prompts using the “AIPromptView” or select from quick suggestions provided within the interface.

Users can also view the AI-generated responses in the “AIPromptOutputView” or directly within the chat interface.
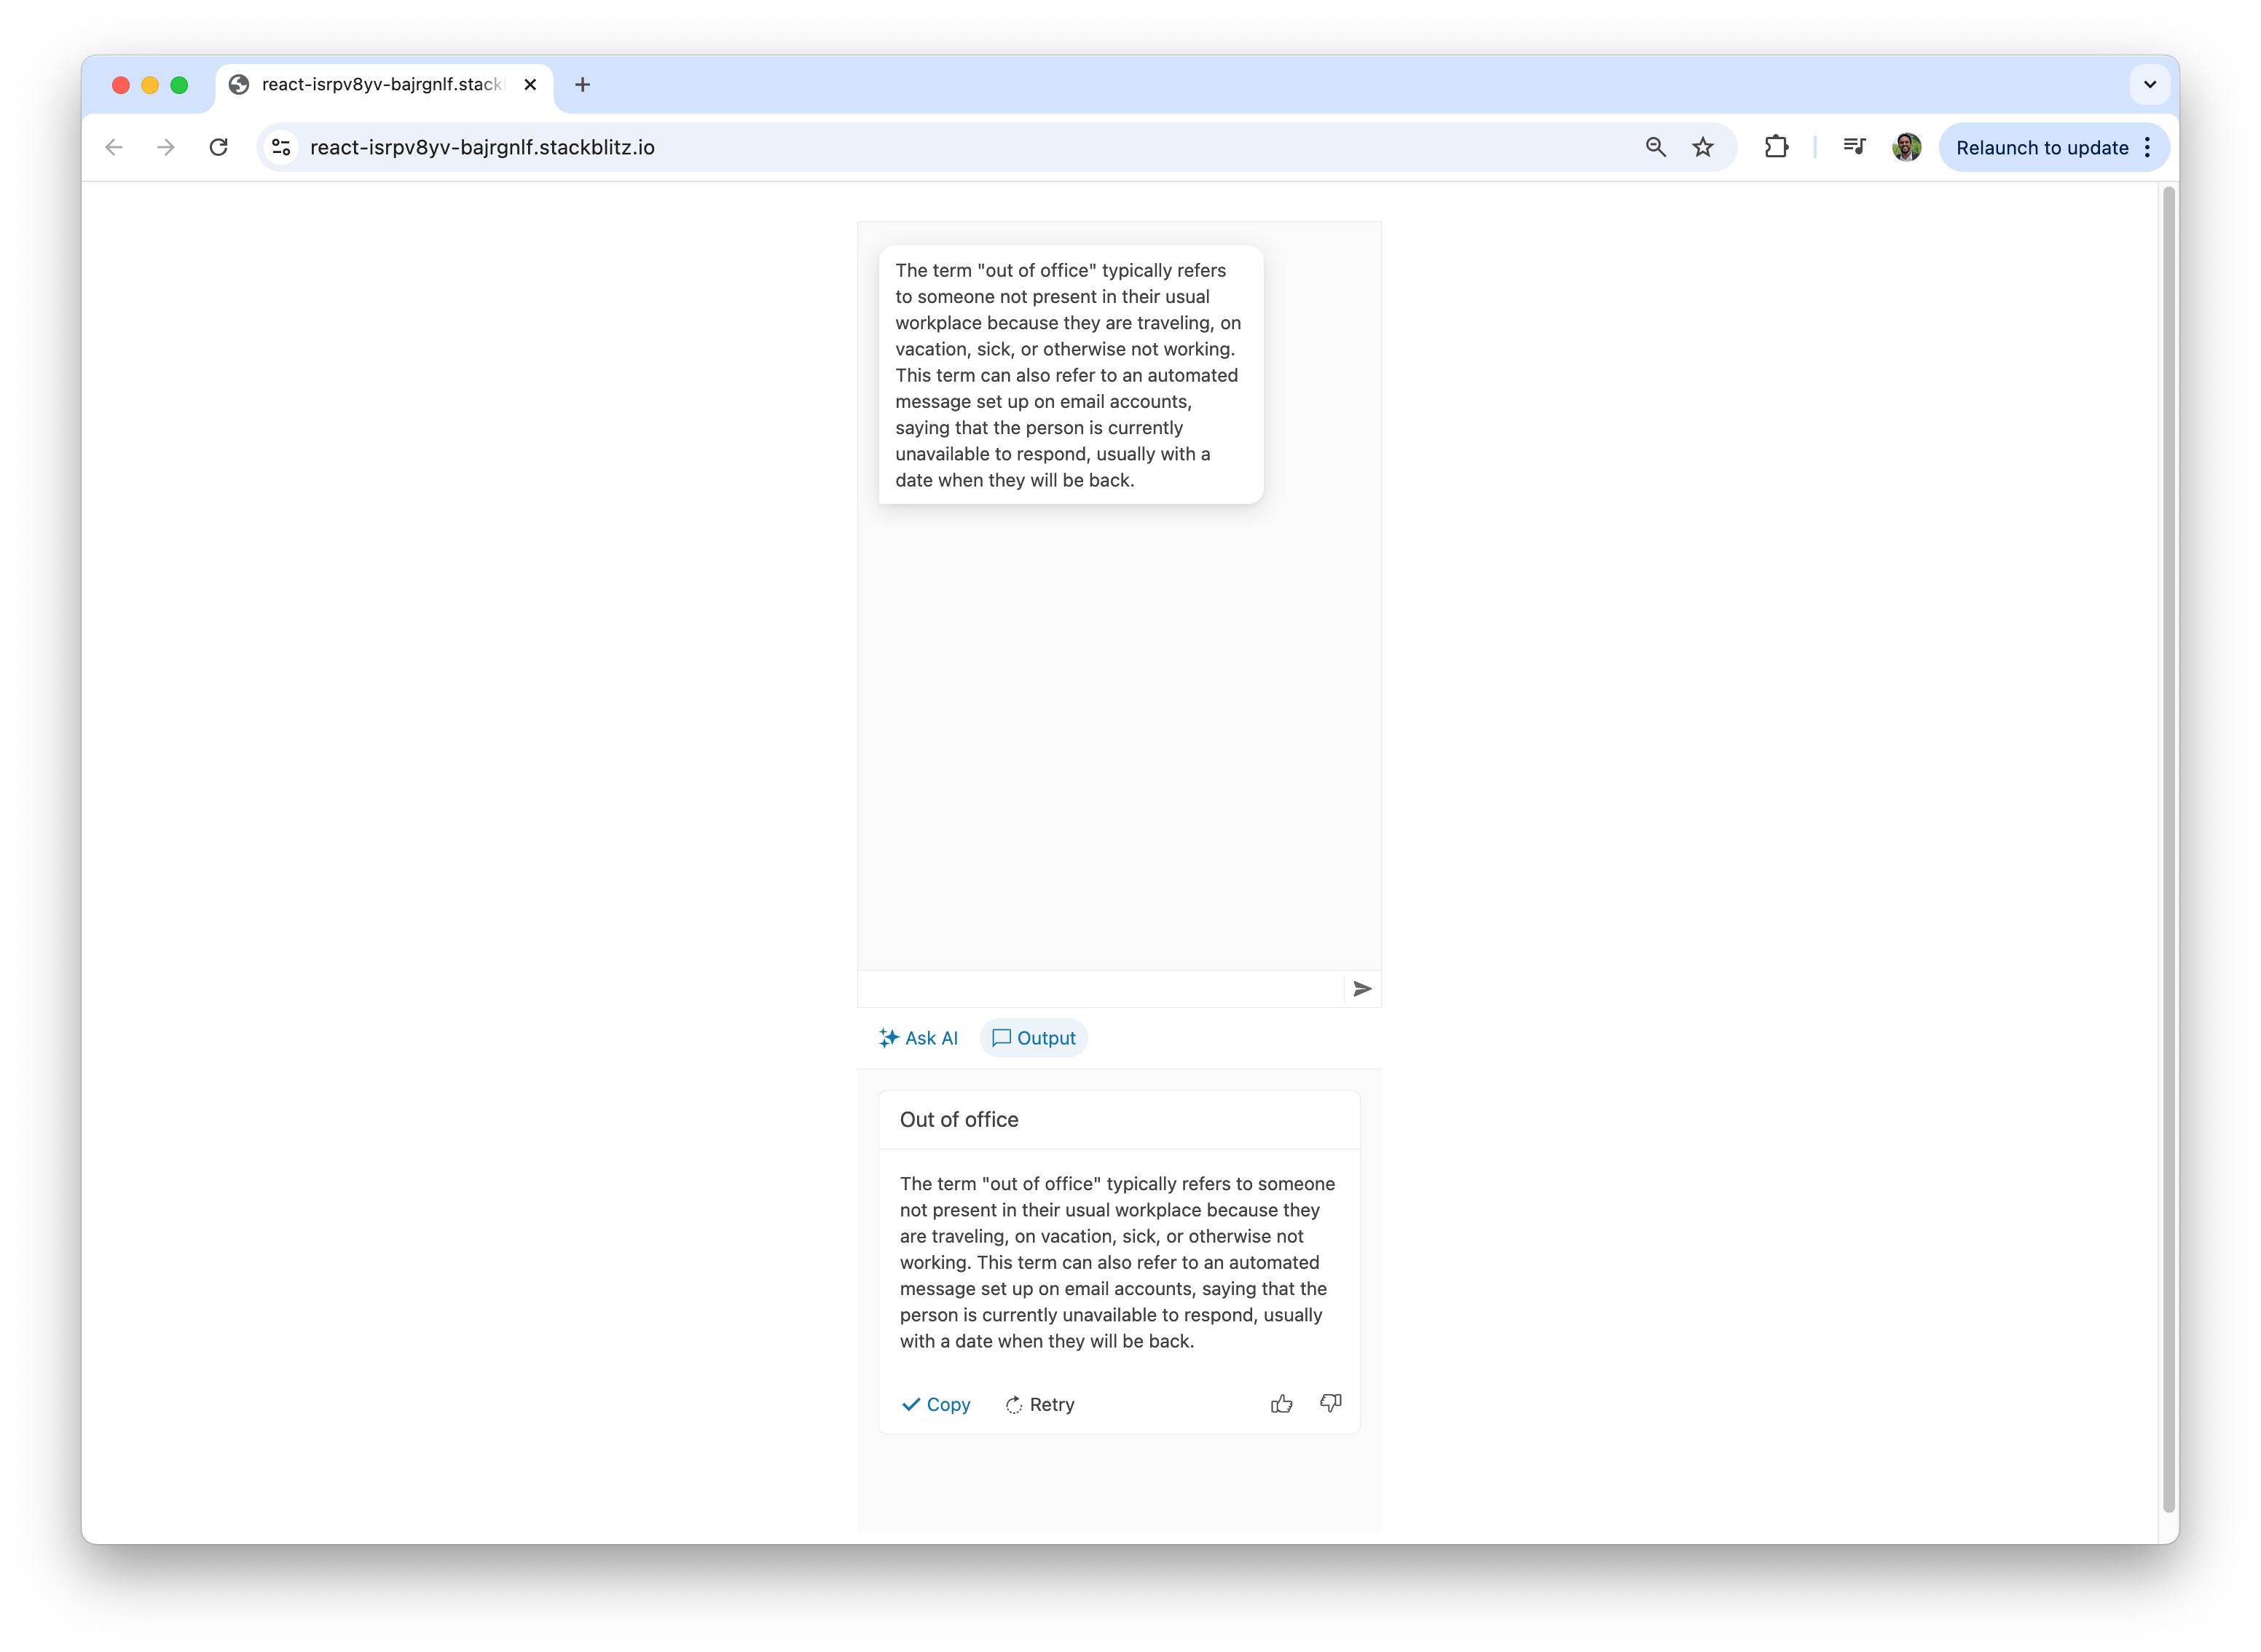
Here’s a visual on how quick suggestions streamline the user experience by providing easy-to-access, commonly used inputs.

Additionally, users can type a custom prompt directly into the “AIPromptView.”

This only touches the surface of what the AIPrompt component offers. Beyond the basic integration demonstrated in this article, the AIPrompt component provides a range of advanced features and customization options, such as support for custom components, custom prompt commands and event tracking and is fully accessible.
Wrap-up
This article concludes the three-part series on building a chatbot with KendoReact and AI! We introduced the KendoReact Chat component in Part 1. In Part 2, we integrated OpenAI to enable intelligent and contextual responses.
In this final article, we introduced the AIPrompt component, which elevates the chatbot experience by providing a structured and interactive interface for writing prompts, executing commands and interacting with AI-generated outputs.
Explore the KendoReact documentation and OpenAI API docs to expand and customize your chatbot to meet your unique needs. Happy coding!

Hassan Djirdeh
Hassan is a senior frontend engineer and has helped build large production applications at-scale at organizations like Doordash, Instacart and Shopify. Hassan is also a published author and course instructor where he’s helped thousands of students learn in-depth frontend engineering skills like React, Vue, TypeScript, and GraphQL.
Related Posts
Comments
All articles
Topics
Web MobileMobile
Desktop
Design
Productivity
People
