Using the Create New Project Wizard for VS Code
The Kendo UI Template Wizard for Visual Studio (VS) Code is a tool for scaffolding and building React applications with KendoReact.
The Template Wizard provides pre-built templates to easily set up React applications by using the KendoReact components.
Figure 1: Creating a project
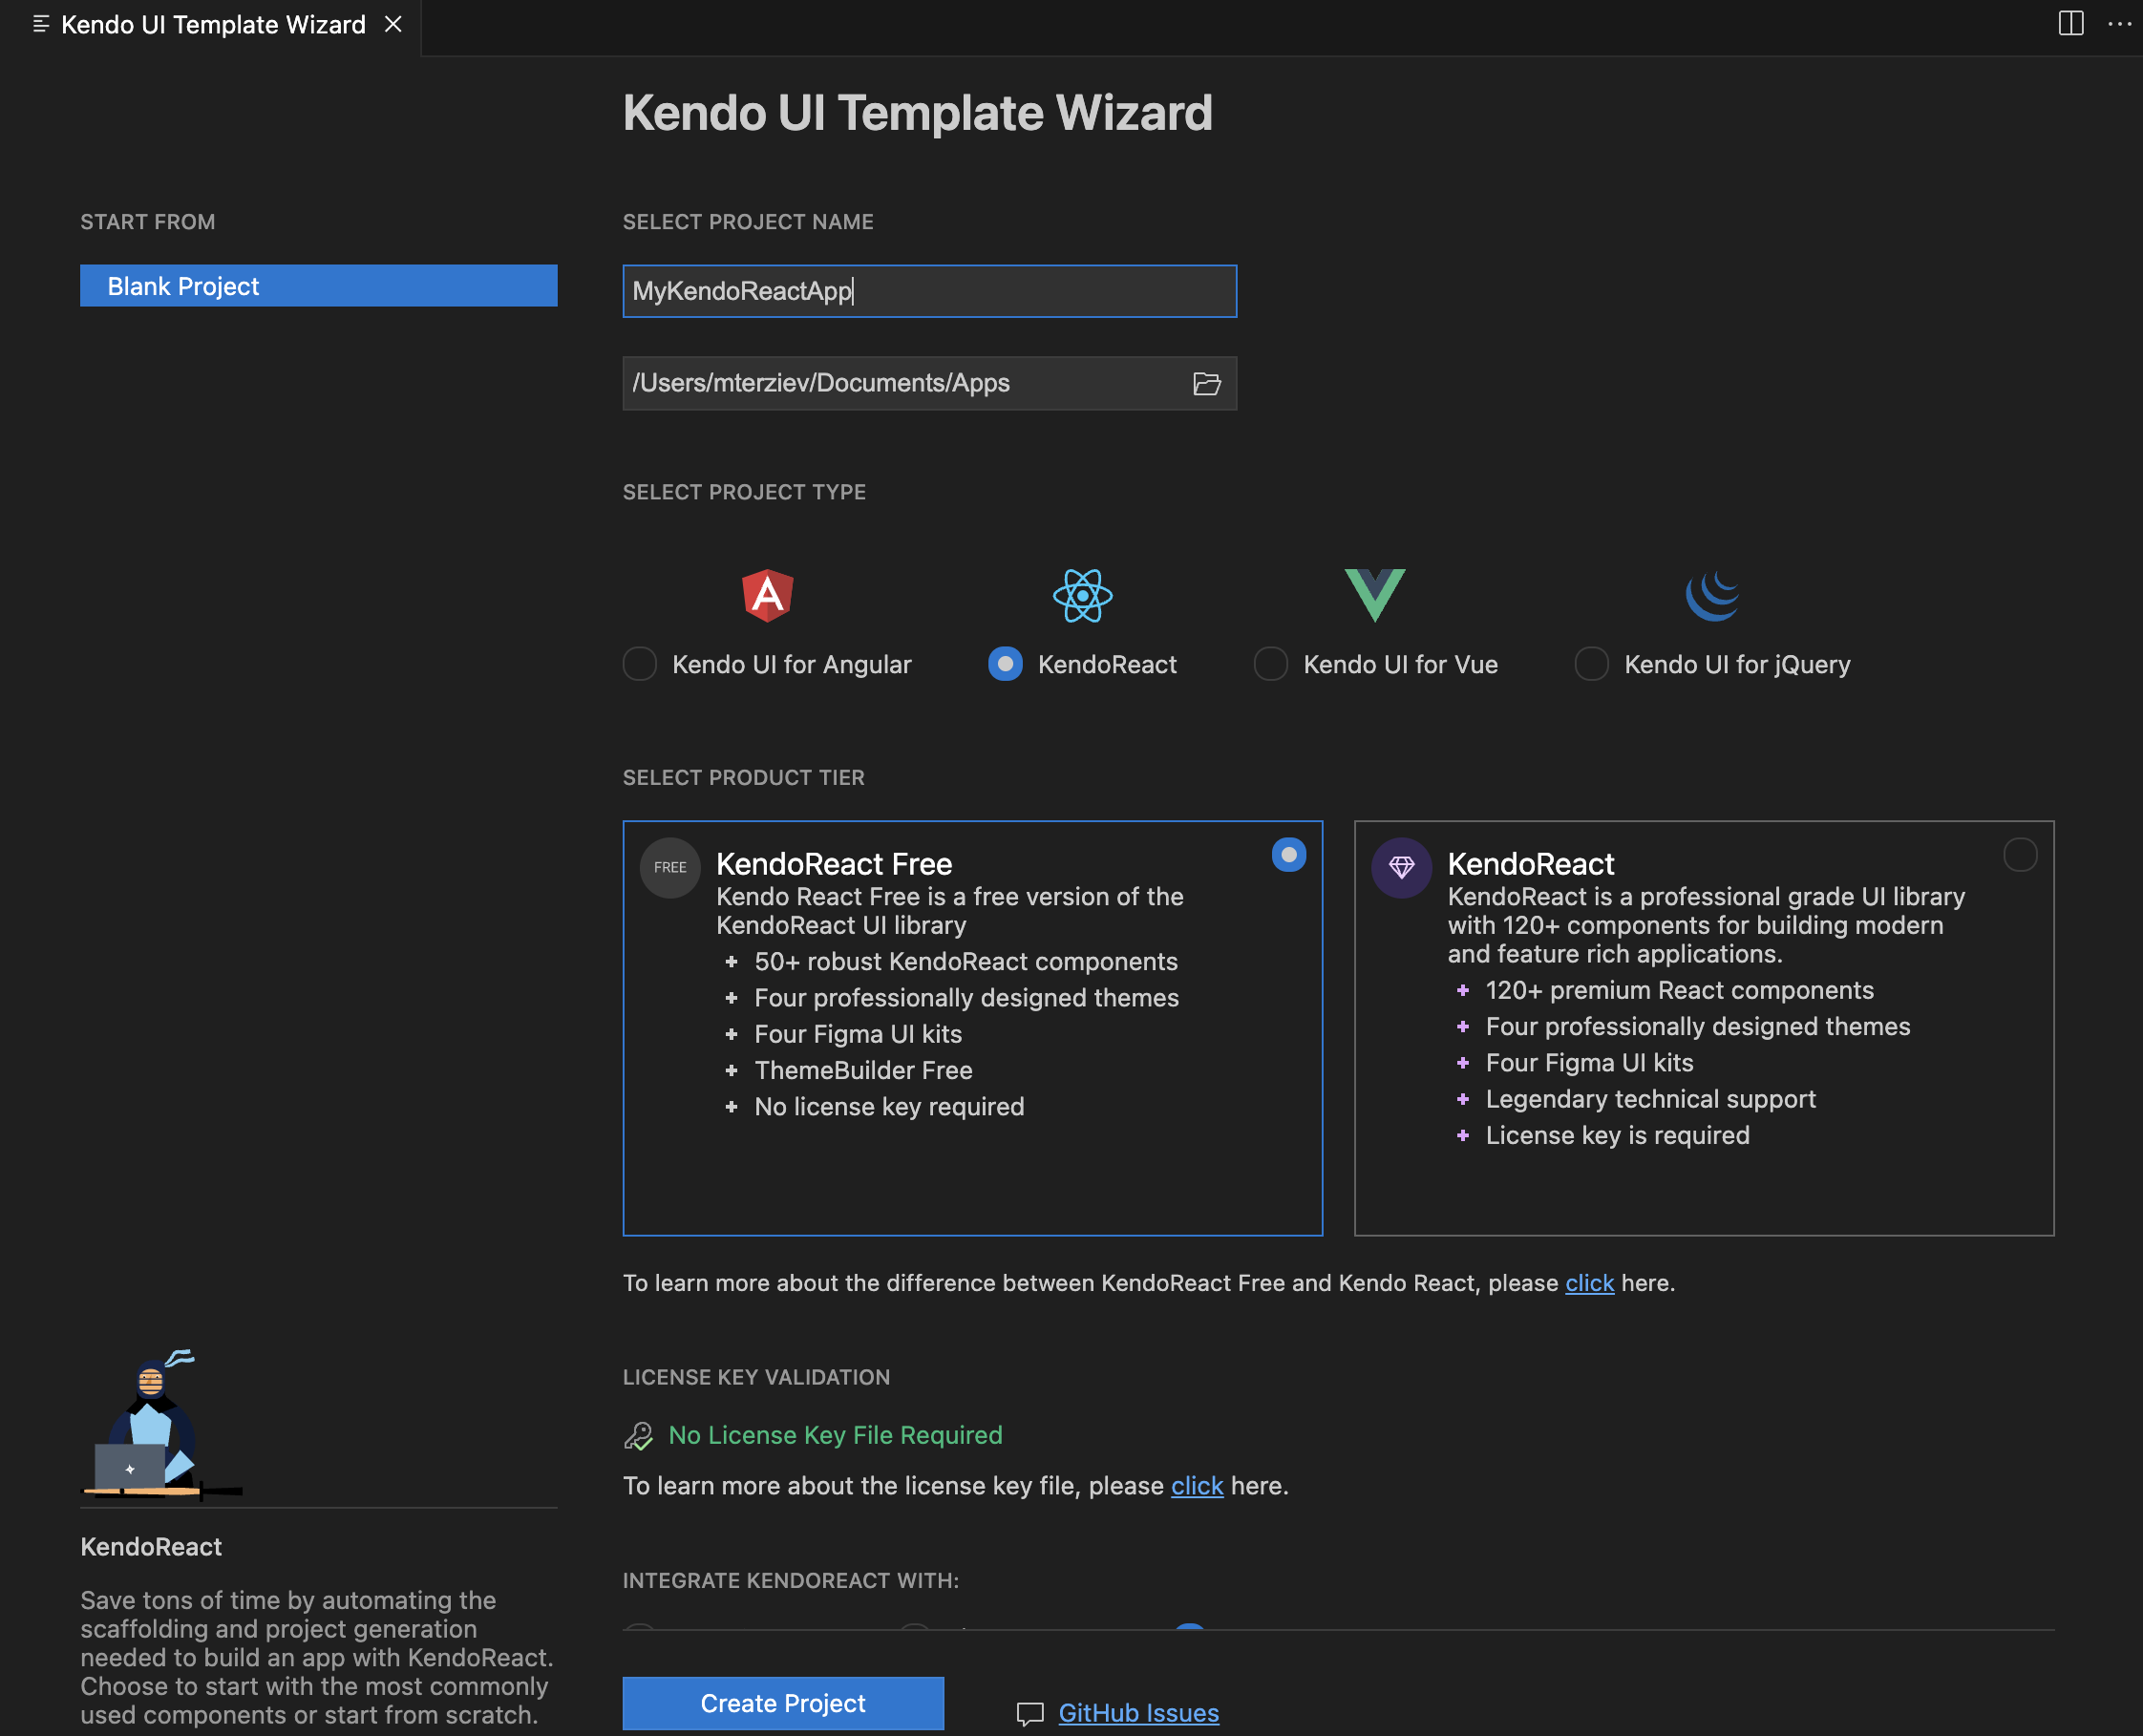
To create a new KendoReact project:
- Select your product tier. This affects the dependencies installed in your project and disables or enables the built-in license key management (disabled for KendoReact Free).
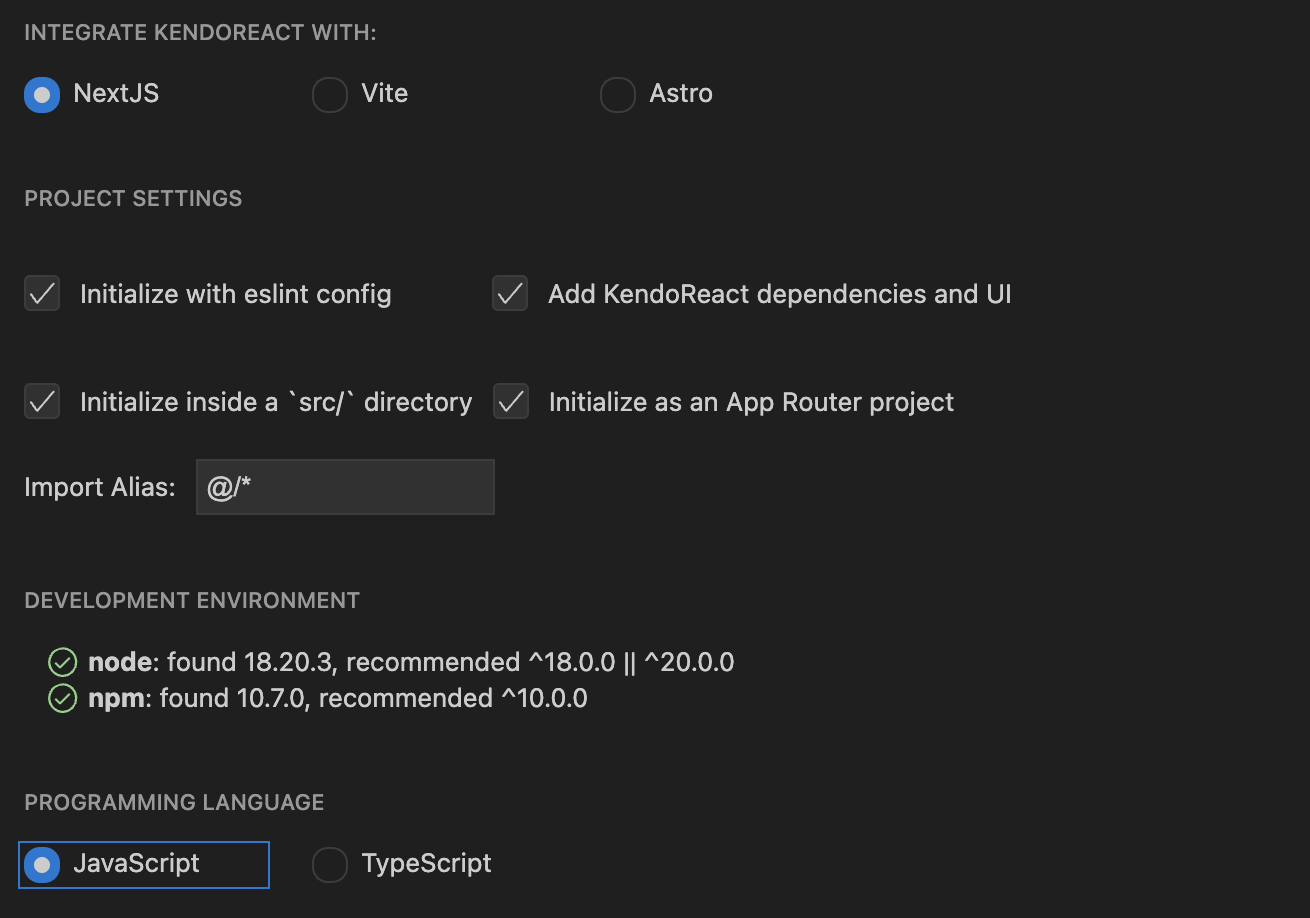
KendoReact Free is a free version of the KendoReact component library and includes 50+ customizable, enterprise-grade React components. Using the components and features in this tier does not require any sign-up or license. KendoReact provides the complete set of 120+ React components. This tier requires a valid commercial license or an active trial license. 2. Select your preferred React framework integration: NextJS, Astro, or Vite. Available for both tiers.
- NextJS
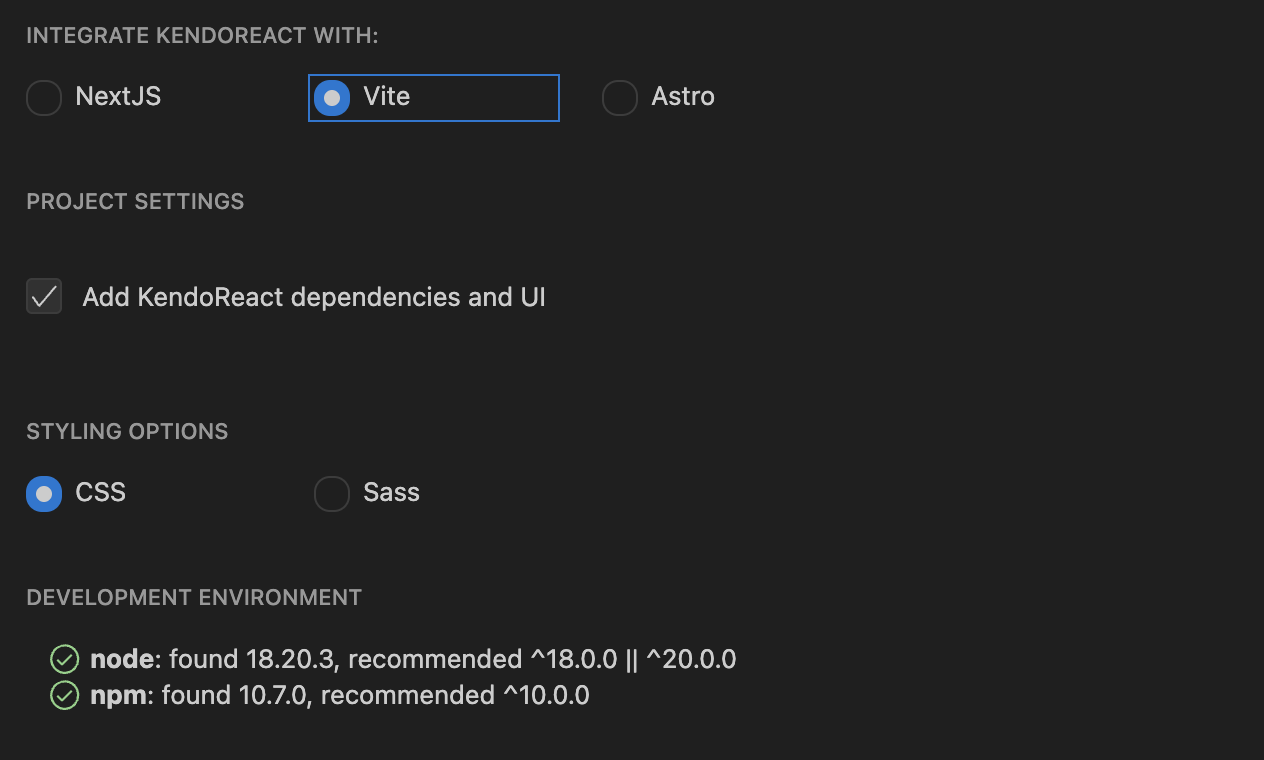
- Vite
- Astro
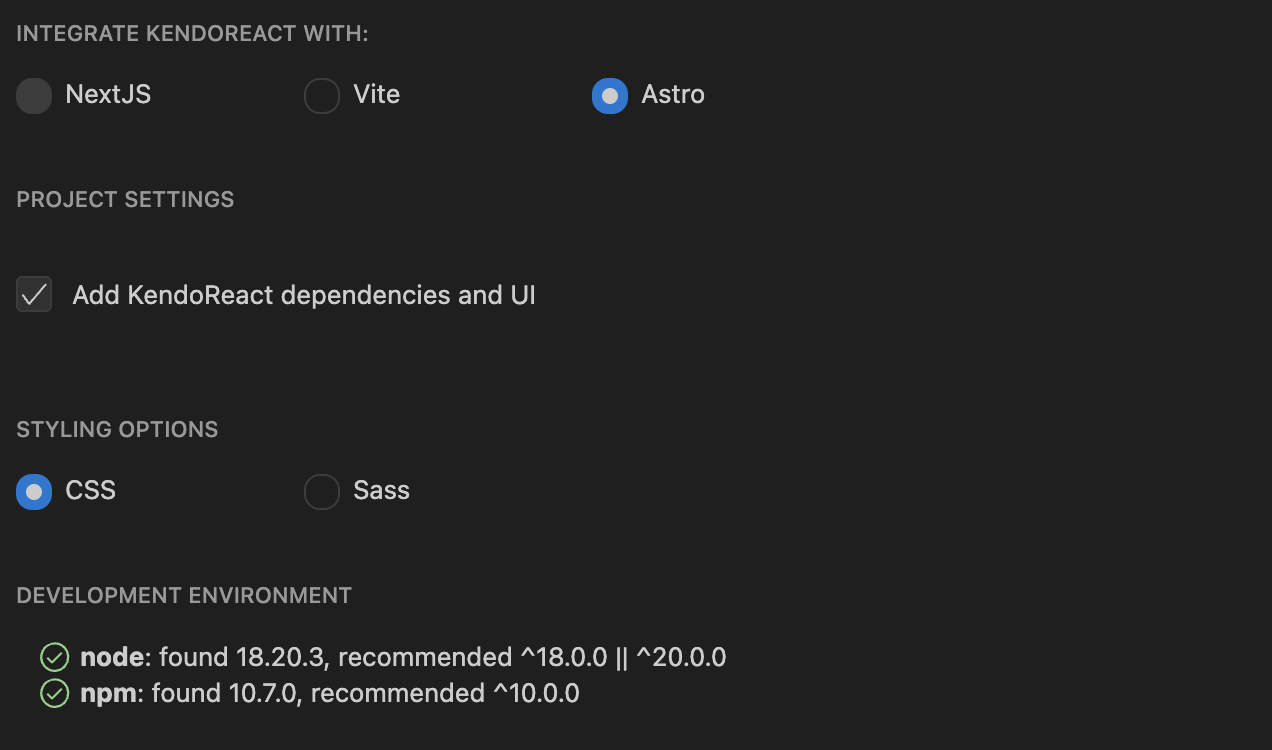
Based on the selected integration, finalize your project settings. Note that the different product tiers install different dependencies.
Styling
The Template Wizard for VS Code allows you to select one of the supported KendoReact themes and start your application with it.
Figure 3: Choosing a theme

Setup
To set up the Template Wizard for VS Code:
- Install the Wizard from the VS Code extension section.
- Open the command palette with
Ctrl+Shift+Pon Windows orCmd+Shift+Pon macOS, and search for Kendo UI Template Wizard Launch. - Select your preferred React framework integration.
- Select your preferred theme.
- Click the Create button to finish the setup.
- Install the NPM dependencies by typing
npm installin the terminal. - Run the application by typing
npm startin the terminal.
You can also check the detailed guide for the Kendo UI Template Wizard for VS Code.